


If you’ve been gardening for a while, you’ve probably grown tomatoes from starts purchased from a nursery or hardware store. Starting your own tomato seeds indoors might seem a little daunting, but growing from seed opens up a whole new world of tomato varieties, and gives you control over the process so you can get healthier starts than the ones on racks outside a big box store.
Need some help choosing tomato varieties before you get started growing? Our guide to different tomato types can help get you started.
What you will need:
- Seeds! Check out our whole collection of tomato seeds here.
- Seedling pots or trays: We recommend starting tomatoes in 4-inch pots. If you’re starting a lot of seeds, you can use a seedling tray with smaller cells and pot the plants up as they get bigger.
- Sterile potting mix: Seedling mixes are made with just the right balance of nutrients and the right soil texture for growing healthy starts. Starting with sterile mix is best, to make sure you are not introducing any diseases to your delicate seedlings.
- A bucket or large plastic container to pre-moisten the potting mix.
- A seedling heat mat: Tomatoes are warm-weather plants, and a heat mat is the most reliable way to ensure your seedlings are in the right temperature to sprout and develop strong roots.
- A grow light: In the very early spring, even the sunlight coming in a very sunny window is often not enough for strong seedling development. Seedlings that aren’t getting enough light will reach toward the window and become “leggy,” ie long-stemmed and unstable. Once that happens, sometimes there’s no bringing them back to health. For starting just a few plants, a grow light bulb in a desk lamp or clamp light might do. If starting a whole tray of seedlings, you’ll want a larger grow light, so that all your plants can be just a few inches from the light. You can also DIY with fluorescent shop lights from the hardware store. If you go this route, put one warm bulb and one cool bulb in each light to make sure your plants get the full spectrum of light they need.
When to Start Tomato Seeds
Tomatoes are heat-loving plants that are not frost-tolerant at all, so you want to time your seedlings to be transplanted after your area’s average last frost date. Find out when your location expects its last frost via internet search, the Farmer’s Almanac, or by contacting your local land grant university extension agent. You’ll want to start your tomato seeds indoors eight to ten weeks before that date.

Starting Tomato Seeds, Step by Step
- Moisten your potting mix thoroughly in a bucket or other large container. You’ll know the soil is the right moisture level when you can squeeze a ball of soil in your hand and it stays together, but doesn’t drip water. Fill your seedling pots or trays to within ¼ inch of the top. Gently tap the containers on the ground to settle the soil, but do not compact it.
- Place 2-3 seeds in each pot or cell. Remember that probably not every seed will germinate. If more than one plant sprouts per pot, you can thin them to one per pot later.
- Cover seeds with about ¼” of soil and then gently water them to create good seed-to-soil contact.
- Place the pots or trays in a warm place, preferably on a heat mat between 70-85 degrees F. If using a grow light, it does not need to be turned on yet.
- Make sure the soil stays consistently moist, but not soaking wet. If using seedling trays, clear plastic domes can be very helpful. Placing a sheet of plastic wrap over the soil until seedlings begin to emerge can also work. Using a heat mat makes it necessary to check on the soil moisture at least twice per day, since the warmth can dry out soil quickly.
- Once the seedlings begin to emerge (usually in 5-12 days), make sure they have plenty of bright light, and good airflow. A fan set on low near your seedlings can be good insurance against fungal diseases that can creep in if the soil surface stays too wet.
- As your seedlings grow, water each time the top surface of the soil dries out (usually once per day), and make sure to move the grow light to keep it within a couple inches of the tops of the plants.

Transplanting Tomato Seedlings
When your plants reach 2-3 times the height of their container, and temperatures are safely well above freezing at night, it’s time to transplant them to a full-sun location in the garden. Try to choose a spot where tomatoes have not been planted for at least two years prior, to avoid issues with disease. Add compost to your bed before planting, but don’t use a very high nitrogen fertilizer, as this will spur the plants to produce lots of lush foliage but not a lot of fruit. Some gardeners also add a little bone meal to each transplant hole to provide phosphorus and calcium, which can help prevent blossom-end rot, a common tomato malady.
Helpful tips for successful tomato transplanting:
- Harden off your starts before transplanting: About two weeks before you plan to transplant your young tomatoes, start taking them outside for part of the day, to get them acclimated to the sun and breeze. Start with just a couple hours per day, and leave them out for gradually longer periods. You don’t have to be perfectly consistent with your timing, just make sure that when your plants go in the ground, that isn’t the first time they’ve been outside! Transplant shock can set your plants back and make them less vigorous for the whole season.
- Transplant in the morning before it gets hot out, and on a day when good weather is expected for a few days afterward. If a big thunderstorm is predicted on the weather forecast, hold off. Established plants can recover better from weather events, but new transplants can be severely set back.
- Handle seedlings gently. Take extra care when removing them from their pots. Hold the plant upside down by the stem right at the soil line and gently squeeze the pot to loosen the soil until the root ball slides out easily. Give the root ball a few gentle squeezes after it’s out of the pot to free the roots from any soil compaction, but be careful not to damage them.
- Plant deep! Tomatoes should be planted up to the first branches, because any stem that is buried in soil will sprout roots. More roots equals faster growth.
- Give them plenty of space. When the plants are small, it’s tempting to plant them close together, but they will be competing with each other later in the season. Good airflow and space around the plants also helps prevent disease. Tomatoes need a good 18-24 inches between plants. Don’t cheat them!

Caring for Tomato Plants in the Garden
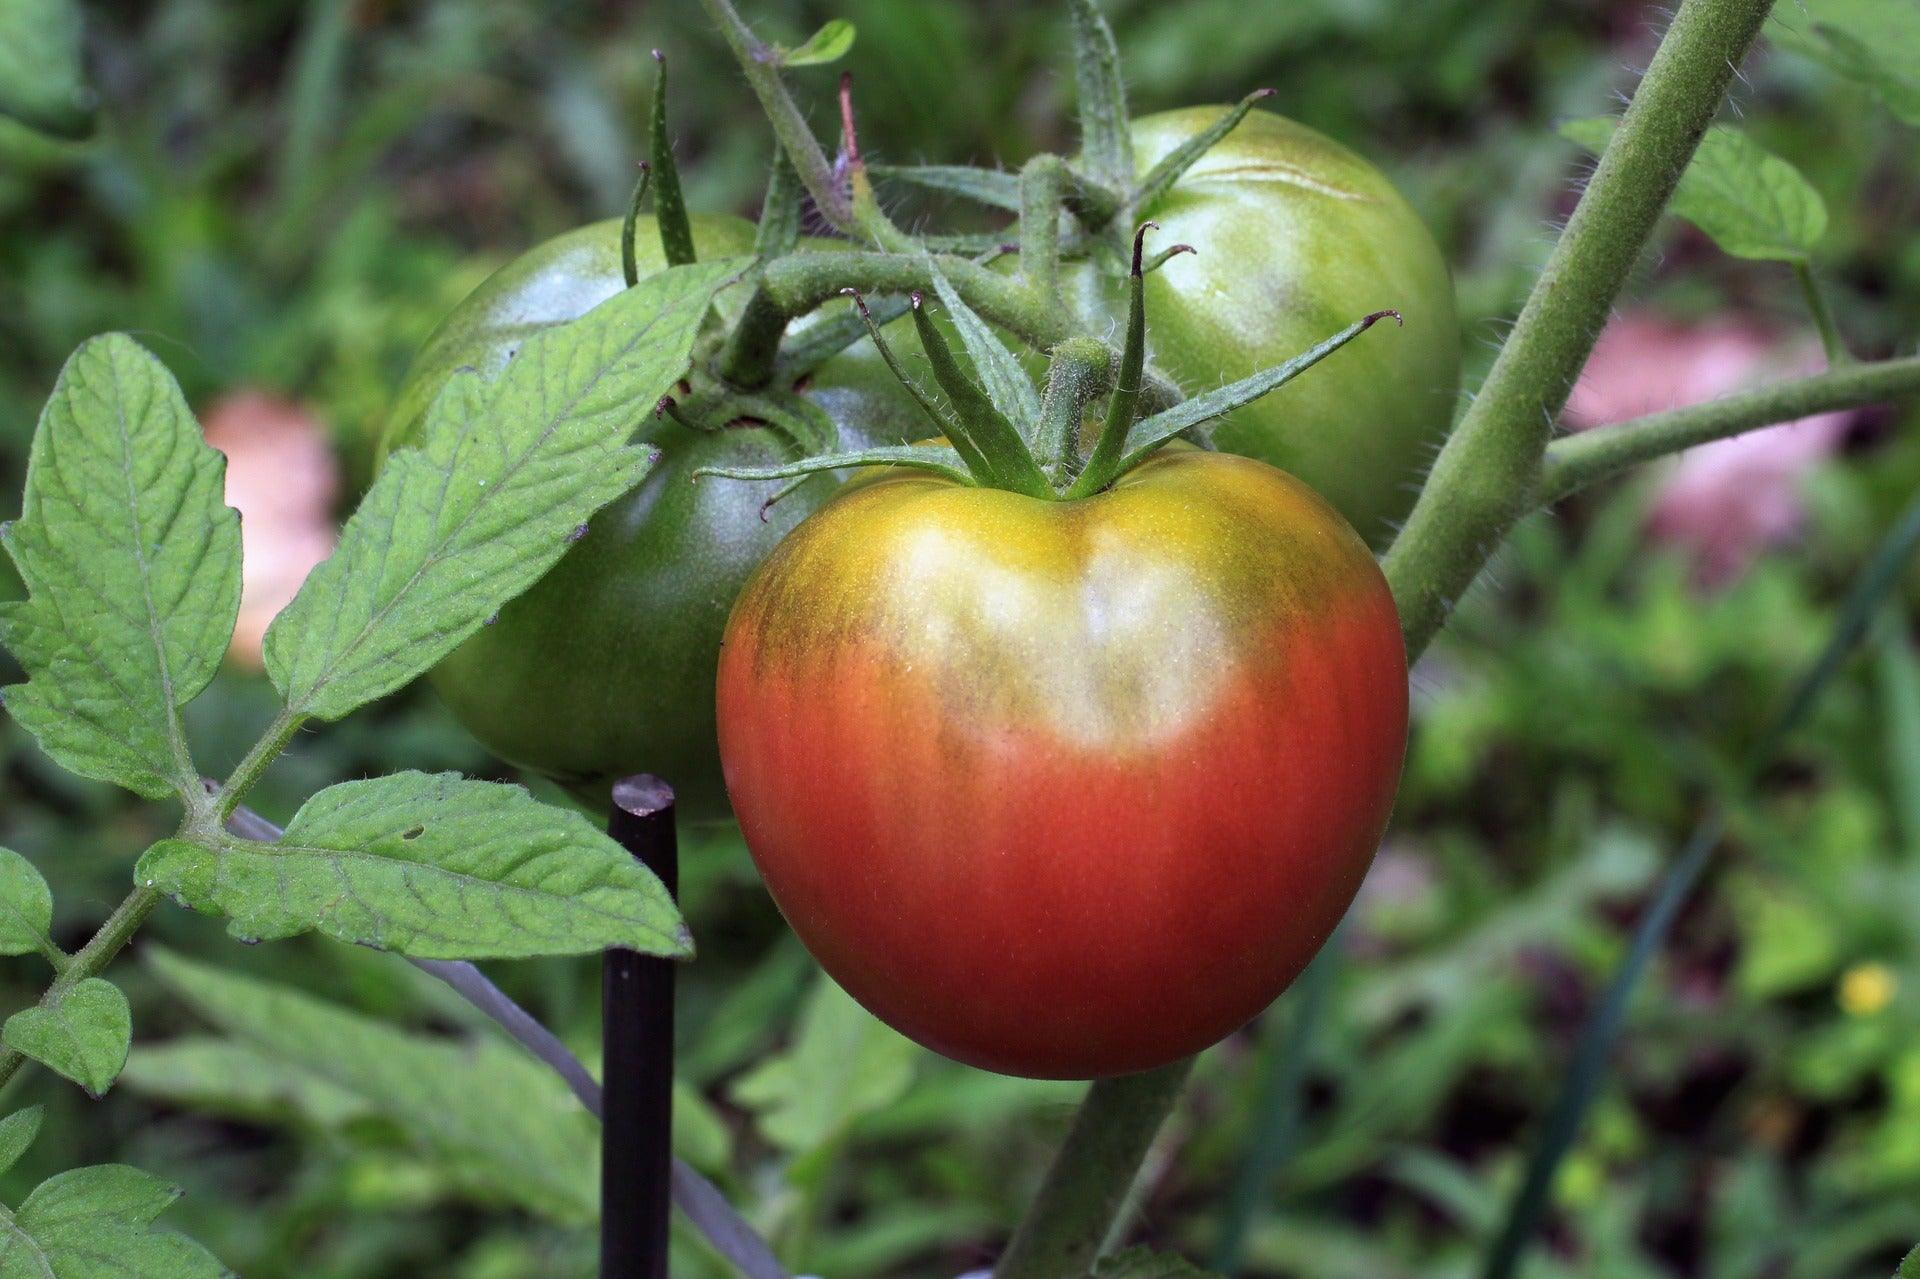
After transplanting your tomato babies, make sure to keep them well-watered for the first couple weeks as they get established. Water from the base of the plant, and do it in the morning if possible. This will prevent the leaves and soil surface from staying wet too long and attracting fungal disease. Generally, tomato plants need 1-2 inches of water per week. It’s a good idea to keep a rain gauge in the garden to keep track of how much rain you’ve gotten and decide whether you need to water. Watering every day is not usually necessary once the plants are established. Make sure you place cages or establish trellising while the plants are still small. Trellising keeps fruits off the ground and helps create good airflow around the plants to prevent mildew and fungal diseases. Pruning your tomatoes by removing “suckers,” which are the little sprouts that appear at the base of each branch as the plants grow, also helps create good airflow around the plant. If you start to see pests like aphids, hornworms, or mildew, a dilute solution of castile soap and water sprayed directly on the pests can help, or an all-purpose organic insecticide/fungicide like Dr. Zymes can work wonders.
Hopefully now you feel ready to grow your own tomatoes from seed to fruit! It’s a bit of extra work to nurture your tomatoes from tiny, delicate sprouts, but the payoff is sweet, juicy and delicious. Happy gardening!