


Growing ginger root is an easy project even for the spaced-challenged gardener. What’s more impressive than a little homegrown pickled ginger on the dinner table? Or offering a delicious broth seasoned with dried ginger that came out of the garden?
Ginger is a tropical plant that is hardy in growing zones nine through twelve, meaning you can “overwinter” it in those zones (but who would call that a winter!). In colder zones, growing ginger root is possible but can take a bit more planning. Ginger root can be started from rhizomes early indoors and kept warm, planted in containers, moved outside for the warmest weather, and brought back in for the winter to ensure it doesn’t freeze.
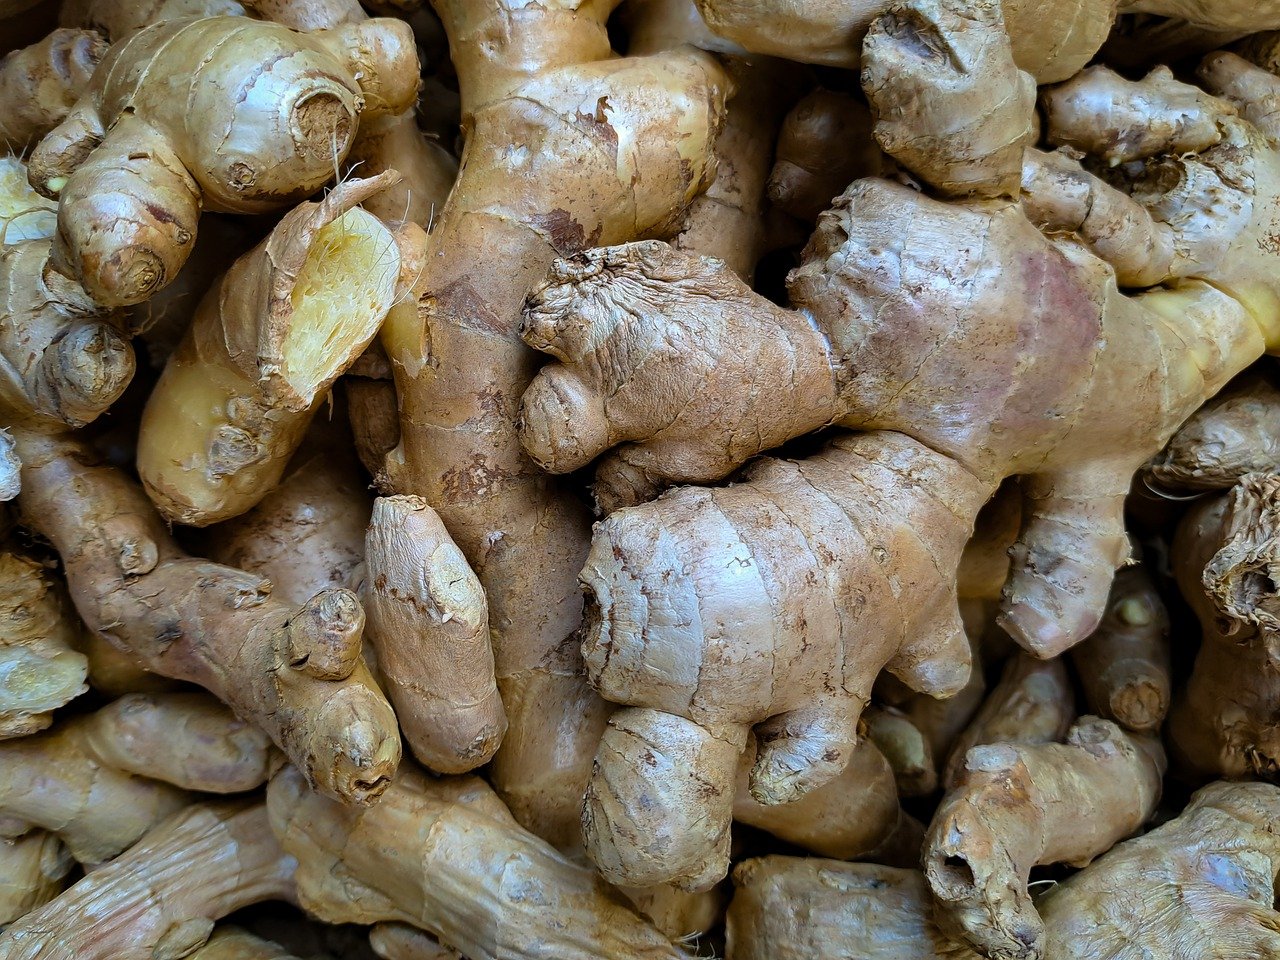
Ginger root is a flowering plant that grows rhizomatous roots, which is the part typically eaten! These chunky roots spread and grow best in soils that are 70 to 90 degrees fahrenheit. They won’t grow as effectively in cooler soil temperatures but won’t be killed unless left out in a frost, so if temperatures in your area get below 32 degrees, keep ‘em in containers and bring ‘em indoors!
Planting Ginger Root
If you’re in zones nine through twelve, ginger root can be planted outdoors in the spring, when nightime temperatures are above 55 degrees fahrenheit. Soil temperatures should be about 70 degrees fahrenheit at planting time. This means, if you’re sprouting your ginger indoors to transplant, you’ll want to use a heat mat to reach these temperatures.
Similar to potatoes, ginger roots have “eyes” that act as growing points. They look like small raised bumps on the surface of the rhizome. You can cut your ginger into pieces around an inch long, ensuring each chunk has at least one eye. This is especially effective if you plan to grow your ginger as a perennial, as these smaller pieces will take longer to grow. If you plant to grow your ginger as an annual, keep your ginger on the larger side, this way at harvest time you’ll have a good chunk to take out of the ground!
How to Pre-Sprout your Ginger Root
Pre-sprouting should be done in colder zones in order to lengthen the growing season. It’s a simple, but necessary step to grow ginger when you don't live in the tropics!
- Prepare a cell-less tray, casserole dish, or similar container with several inches of evenly moist compost.
- If you’ve decided to start with small pieces of ginger, cut them now leaving at least one eye per chunk. When cutting, allow the ginger to sit on the counter for at least a day before being submerged in the compost. This will allow the fresh cuts to heal over which will protect your ginger from root rot.
- Once you’re ready to plant, place your ginger pieces buds-up on the surface of the compost. Cover the pieces with one to two more inches of compost, ensuring adequate contact with the root.
- Cover your tray with a humidity dome and set on a heat mat to speed up sprouting.
- Throughout the process be sure to keep the soil evenly moist but not soggy.
- When the ginger root has sprouted, place them under grow lights and keep them on the heat mat. The rhizomes can then be transplanted into larger individual containers and kept growing inside until it is safe to transplant them outdoors!
- Don’t forget to harden off your sprouts before planting them outside.

Planting Ginger Root Outside
Ginger loves to grow in nutrient dense and loamy soil. Amend and loosen your garden soil ahead of planting. Dig a trench that is six inches deep and lay the sprouted (or unsprouted) rhizomes with the eyes or sprouts up.
Spacing
Space each piece eight to twelve inches apart and cover with one to two inches of soil. As the sprout matures, top off the soil with mulch to suppress weeds and hold in moisture. Alternatively, if planting in pots, ensure the pot is at least twelve inches in diameter. You can expect your ginger to grow two to three feet in height.
Watering
Ginger needs a lot of moisture while actively growing. Never let the soil dry out, but ensure you aren’t drowning your plants either as this may cause rot. Ginger also loves humidity, so misting, or covering with a bit of plastic (think outdoor humidity dome) may help with this. Don’t forget about it though so you don’t cook it! Towards the end of the growing season as you’re getting ready to harvest you can slowly reduce the amount of water you’re giving it. This will encourage rhizome formation.
Fertilizing Ginger Root
Ginger that is growing in good, rich soil shouldn’t need anything extra. However, your ginger may appreciate a regular application of compost or worm castings once a month while it’s growing. If you know you are growing in particularly low nutrient soil or in containers, you may consider a slow release fertilizer at planting time or regular applications of fish fertilizer every week.
Ginger Growing Stages
The beauty of growing ginger root is watching the circle of life! From rhizome to rhizome you can watch this plant reproduce year after year.
- Ginger begins as a rhizome and is cut up to make more plants. One eye per chunk allows the ginger to form leaves which allows it to expand on its rhizome.
- In warmer growing zones, ginger can be planted directly outside. In cooler ones, ginger should be sprouted inside. Once sprouted, and weather permitting, plant your ginger outdoors where it can get full sun, though it can tolerate partial shade.
- As the sprout matures and produces more leaves (and maybe even flowers!) keep the ginger well-watered. This helps with rhizome production.
- You can expect this process to take you about eight to ten months from beginning to end. Once the leaves start to die back in the fall, harvest the root before the frost.
- Be sure to save your smallest chunks of ginger to begin the process over again the following year!

Tips for Growing Ginger
- Ginger will want a lot of water while it is growing but can handle less during sprouting and towards the end of rhizome production. In the beginning, too much water runs the risk of rot and towards the end cutting back on water allows the rhizome to form a skin.
- Keep an eye on the rhizomes as they expand and continue to cover them up like you might hill potatoes. It’s not absolutely necessary but it will encourage the rhizomes to grow.
- Don’t forget to mulch! Mulching around your ginger keeps weed pressure down and conserves moisture.
- Be sure to hand pull any weeds rather than use a hoe so you don’t damage the roots.
- Ginger roots tend to grow to the side rather than go deep so when growing in containers, make sure to choose one that’s wide enough! At least twelve inches.
Common Challenges in Growing Ginger
Like any crop, ginger has its set of problems, though they’re actually fairly limited compared to other crops. When they do come up, these issues are things you can manage! Learning about the challenges of growing ginger root can help you avoid these issues and pitfalls.
Ginger Root Diseases
Ginger root diseases that you’ll come across will largely be fungal, which can be a difficult problem to navigate once it becomes a problem. The best course of action is prevention. Prevention of fungal diseases include encouraging airflow and watering in the morning, to allow water to evaporate off the leaves quickly.
Common Pests of Ginger
Ginger doesn’t have a ton of problems with pests but aphids and spider mites can become a problem in dry conditions. They can often be removed if caught early enough by a spray of water to knock them off the stems. If the infestations are severe, an application of neem oil can help address it.

Harvesting Ginger
If you are growing ginger root in the garden you can start stealing little bits of it once it is about four months old. Just dig carefully at the side of a clump. (This “green ginger” does have a lot less flavor than the mature stuff, though.)
The best time to harvest ginger is any time after the leaves have died down. Usually it takes eight to ten months to get to that point. Regardless of the quality of the leaves, be sure to harvest your ginger before the frost or to bring it inside to harvest later.
When harvesting the entire clump, dig deep with a garden fork to loosen the soil around the rhizomes. Be cautious not to damage the roots. Once the clump is out of the ground, snip off the aerial parts of the plant and compost the leaves. Clean as best as you can without soaking the roots in water.
Save a good chunk of the ginger to replant indoors for the following season to start the process over!
Storing Ginger
Any damaged roots should be used first. In general, this homegrown goodness won’t last as long as store-bought ginger (but it sure does taste a lot better) and should be frozen for long term storage. It’ll keep in the freezer for about six months.
It’ll store fresh in the refrigerator for a few weeks and is best kept in a paper bag in the crisper drawer so as to not encourage mold.
Ginger is a delicious and amazing crop to grow that is sure to please the adventurous home grower and impress their friends.
Updated: 03/25/2024

|
Article Written by: Hannah Gibbons |
|
About the Author: Hannah Gibbons, an employee at Sow True Seed since 2020, has nearly a decade of experience in the agricultural industry. Their passion for environmental education and regenerative agriculture has been the cornerstone of their work, aimed at making gardening accessible to all. |