


Microgreens and sprouts are a great way to get fresh greens right at your kitchen counter. Whether it’s winter, you don’t have a large outdoor garden, or you’re looking to take on a new and satisfyingly crunchy project - growing these nutritious young plants indoors is a great way to do that!
Microgreens vs. Sprouts
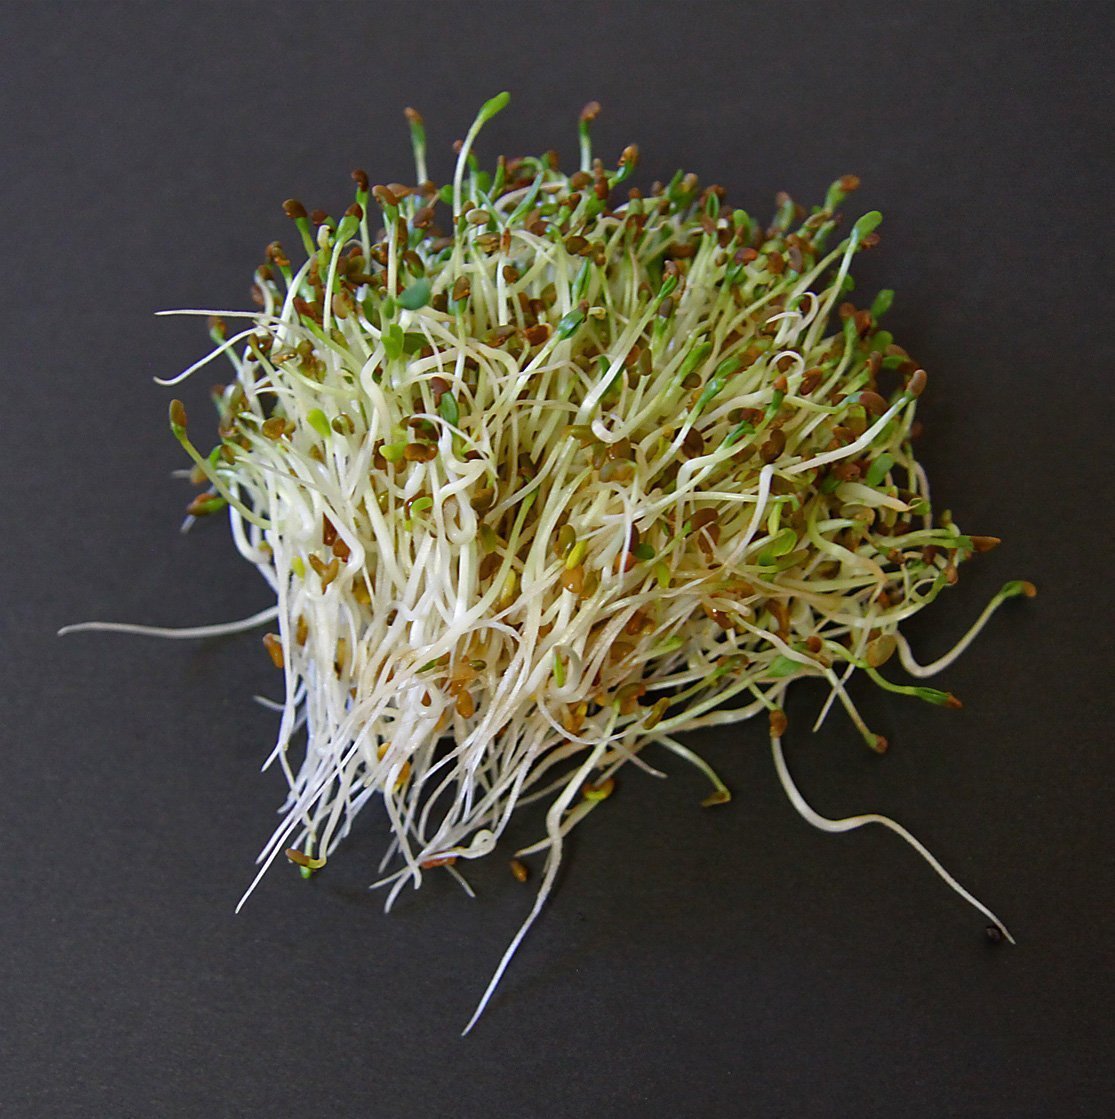
Microgreens are simply the young seedlings of many vegetables we know and love! Broccoli, kale, cabbage, dill, cilantro, lettuce, and more are all popular seeds to grow microgreens from. They are grown in trays of soil until they develop their first pair of “true,” or adult, leaves. Microgreens are harvested by cutting the parts of the plant that have grown above the soil, leaving the roots behind in the trays. On the other hand, sprouts are germinated seeds - and you eat the seed and all rather than separating them from the root. They are grown in jars with no soil and are grown only until the seed leaves emerge. Microgreens tend to take slightly longer than sprouts - about one to three weeks compared to sprouts’ development in under a week. Both are great ways to get fast, fresh, easy greens year round.

Why Grow Sprouts and Microgreens
Sprouts and microgreens are a simple and approachable way to include nutrient-dense fresh greens into your diet year round. We don’t all have the capacity to grow a large garden all year, especially if you live in a place with cold winters like we do!
Microgreens’ nutrient content varies slightly depending on the plant but they tend to be rich in potassium, iron, zinc, magnesium and copper. Their nutrient content is highly concentrated into the young plant, which means they often contain higher nutrient levels compared to the same quantity of mature greens.
Sprouts are higher in protein, magnesium, phosphorus, and vitamins C and K than unsprouted plants - like nuts and seeds that you’d eat on their own. The sprouting process can also increase the amount of fiber that is available, making digestion easier.
Microgreens and Sprouts In Your Diet
Microgreens are highly versatile and can add a delicious crunch to any salad, sandwich or wrap. They can also be blended into smoothies or juiced similar to how you would kale or spinach. Further, microgreens make a gorgeous garnish on pizza, eggs, stews and more!
Sprouting seeds would be incorporated similarly into your diet but tend to hold up better when cooked, so consider tossing them into the pan with your next stir fry, including them in rice dishes or mixing them into burger patties. Sprouts also blend well and make a fabulous addition to smoothies, hummus or a blended spread for toast all on its own!
Growing Microgreens
When growing microgreens you can use anything from baking dishes to tupperware, but there are helpful microgreen-specific trays that are designed to optimize the health and germination of these small plants! Typically, these trays come in sets of two - one with holes that nestles in and drains into another without holes. Soil and seed are placed in the tray with holes and watered from above or below.
How to Grow Microgreens
- To start with, you will need your planting containers and good quality potting soil.
- Fill your container with one to two inches of moist soil and gently press in.
- Scatter seeds evenly on top of the soil and press them down gently to create good seed to soil contact.
- Cover the seed with a thin layer of soil.
- Dampen the surface with a mister and cover the container with a clear lid or plastic wrap to contain even moisture. Remove the covering once seeds germinate.
- Keep the soil evenly moist (not wet) while waiting for the seeds to germinate and while you wait for them to be the desired harvesting size.
- Seeds will typically germinate within three to seven days and then need at least four hours of direct sunlight to grow and survive. In the winter, you may also utilize a grow light to help the little seedlings thrive!

Growing Sprouts
For sprouting seeds in jars, all you need is a relatively warm spot out of direct sunlight. It’s best to use a wide mouth canning jar with a mesh or screen top.
How to Grow Sprouts
- Add one tablespoon of small seed or a quarter cup of larger seed to a jar.
- Cover the seeds with warm water and soak for eight to twelve hours. Drain the soaking water, rinse the seeds, and drain again.
- Set this jar with the seeds inside upside down and at an angle (with your screen lid) to allow the water to drip out and for air to circulate into the jar. A dish drain rack works great for this.
- While growing, keep your jar at room temperature and out of direct sunlight.
- Rinse and drain your sprouting seeds two to three times a day until they have reached one to two inches in length. This will generally happen in three to four days.
- Rinse sprouts in a large bowl of cool water, swirling your sprouts around. Skim off hulls that float to the top, drain, seal and store your sprouts in the fridge for up to one week.

| |
Article Written by: Angie Lavezzo |
|
About the Author: Angie Lavezzo is the former general manager of Sow True Seed. Beyond her professional role at Sow True, Angie's passion for gardening extends into personal hands-on experience, fostering plants and reaping bountiful harvests. |