Saving your own seeds from your favorite varieties has many benefits. Here are a few:
- Protect against seed companies dropping your favorite variety.
- Select seeds for your personal tastes and desires.
- Enhance micro-regional adaptation of your seed.
- Save money.
- Gives you ‘currency’ for trades and seed-swaps.
- Apparently, so my friend told me, seed-savers are really cool.
Botanical Notes:
Family: Solanaceae
Species: Solanum lycopersicum
Flower: Perfect, self-fertile flowers.
Pollination: Self-pollinated with occasional insect pollination depending on variety.
Expected Seed Life: 4-6 years.
Isolation Distance: 10-50ft
Botanical Info referenced from ‘The Seed Garden‘
How To Save Tomato Seeds
If you're a novice or beginner seed saver, you will know:
1) to have kept your tomatoes isolated from other varieties,
2) to pick a mature fruit with the traits that you deem desirable from a range of plants and
3) to only try to save from open-pollinated varieties.
Notes: It’s actually very easy to isolate tomato varieties because they have perfect-flowers which will self pollinate. We recommend a 10-50 ft isolation distance between varieties.
If you don’t know if your tomatoes are open-pollinated, research the variety. If “F1” is part of the variety name, or you find that it is a “Hybrid,” this means that the seeds of your tomato plant will not bare true seed. In other words, it’s very unlikely the tomatoes that the next plant bares will be like those of the parent plant. If you want to save seed from your plants, make sure you are choosing open-pollinated and heirloom varieties. Fortunately, plants and seeds sold by Sow True Seed are always open-pollinated, since seed saving is part of our mission to empower community and maintain genetic diversity for the sake of food sovereignty!
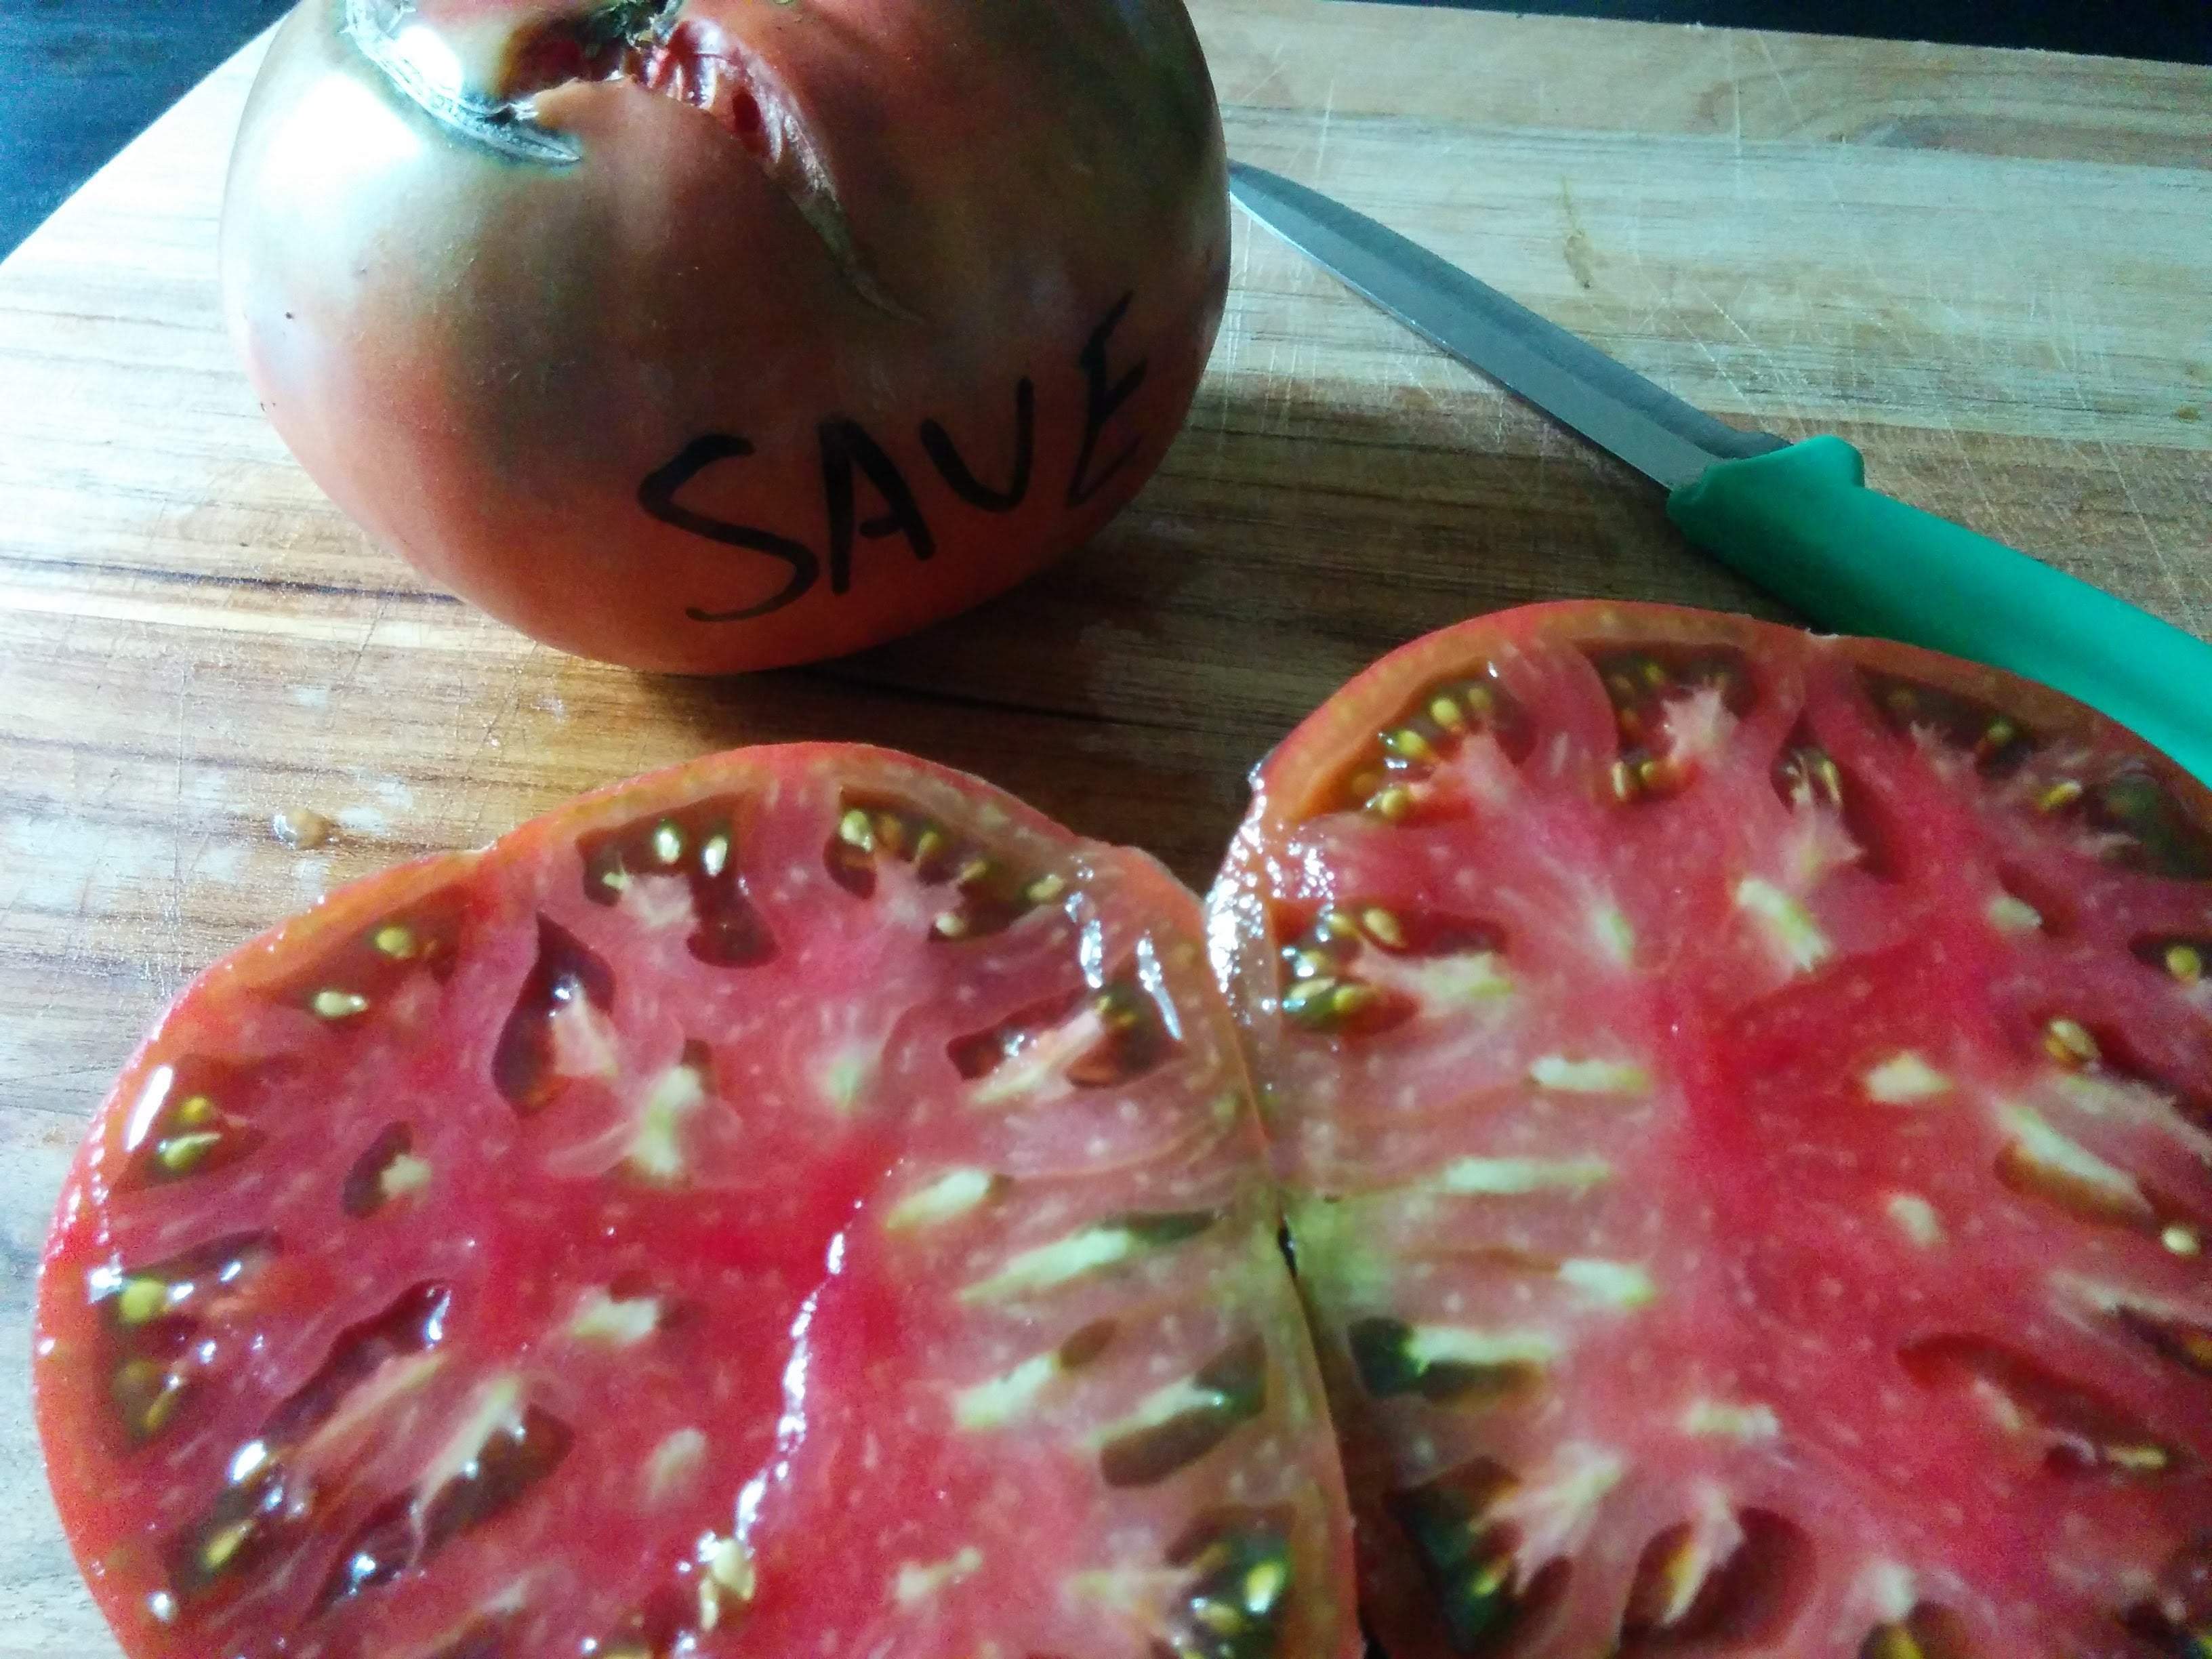
Step 1: Cut your tomatoes along the equator for easy seed extraction.


Cherokee Tomato Seed Saving preparation
Step Two: Squeeze or scrape the seeds into a clean container. Mason jars work well. Use a different container for each variety.

Step Three: Add an equal amount of clean (either filtered, or I use well water) to tomato gunk. Stir vigorously.

Step Four: Leave the seeds to ferment for 1-3 days (depends on temperature). Cover is optional, you want to keep the fruit flies out, but fermentation will cause gases to build up, so if you seal the jar tight you will need to ‘burp’ the ferment.
Note: The purpose of fermenting is to break down the gelatinous placental covering on the seed.

Step Five: Stir seeds daily. You will begin to see the seeds sink to the bottom of the jar.

Step Six: Top off jar with water and remove the top layer of detritus.


Step Seven: The remaining seed gloop can be rinsed thoroughly through a metal sieve with the aim of having only clean seeds left in the sieve.

Step Eight: Leave clean seeds to dry. I like using coffee filters over paper towels because nothing sticks to the seed.

Step Nine: Completely dry seeds can be stored dry, dark and cool. I achieve this with a small mason jar, a silica gel pack and my basement refrigerator.

| |
Article Written by: Angie Lavezzo |
|
About the Author: Angie Lavezzo is the former general manager of Sow True Seed. Beyond her professional role at Sow True, Angie's passion for gardening extends into personal hands-on experience, fostering plants and reaping bountiful harvests. |


