


All About Turmeric (Cucurma longa)
Turmeric is a rhizomatous plant in the Zingiberaceae family, which is just the fancy Latin way of saying that it’s related to ginger. It is native to tropical parts of Southeast Asia and its documented medicinal and culinary importance dates back over four thousand years to the Vedic culture of India. Back then, it was an important part of Ayurvedic medicine, a system of healing that is deeply rooted in Indian culture and history.
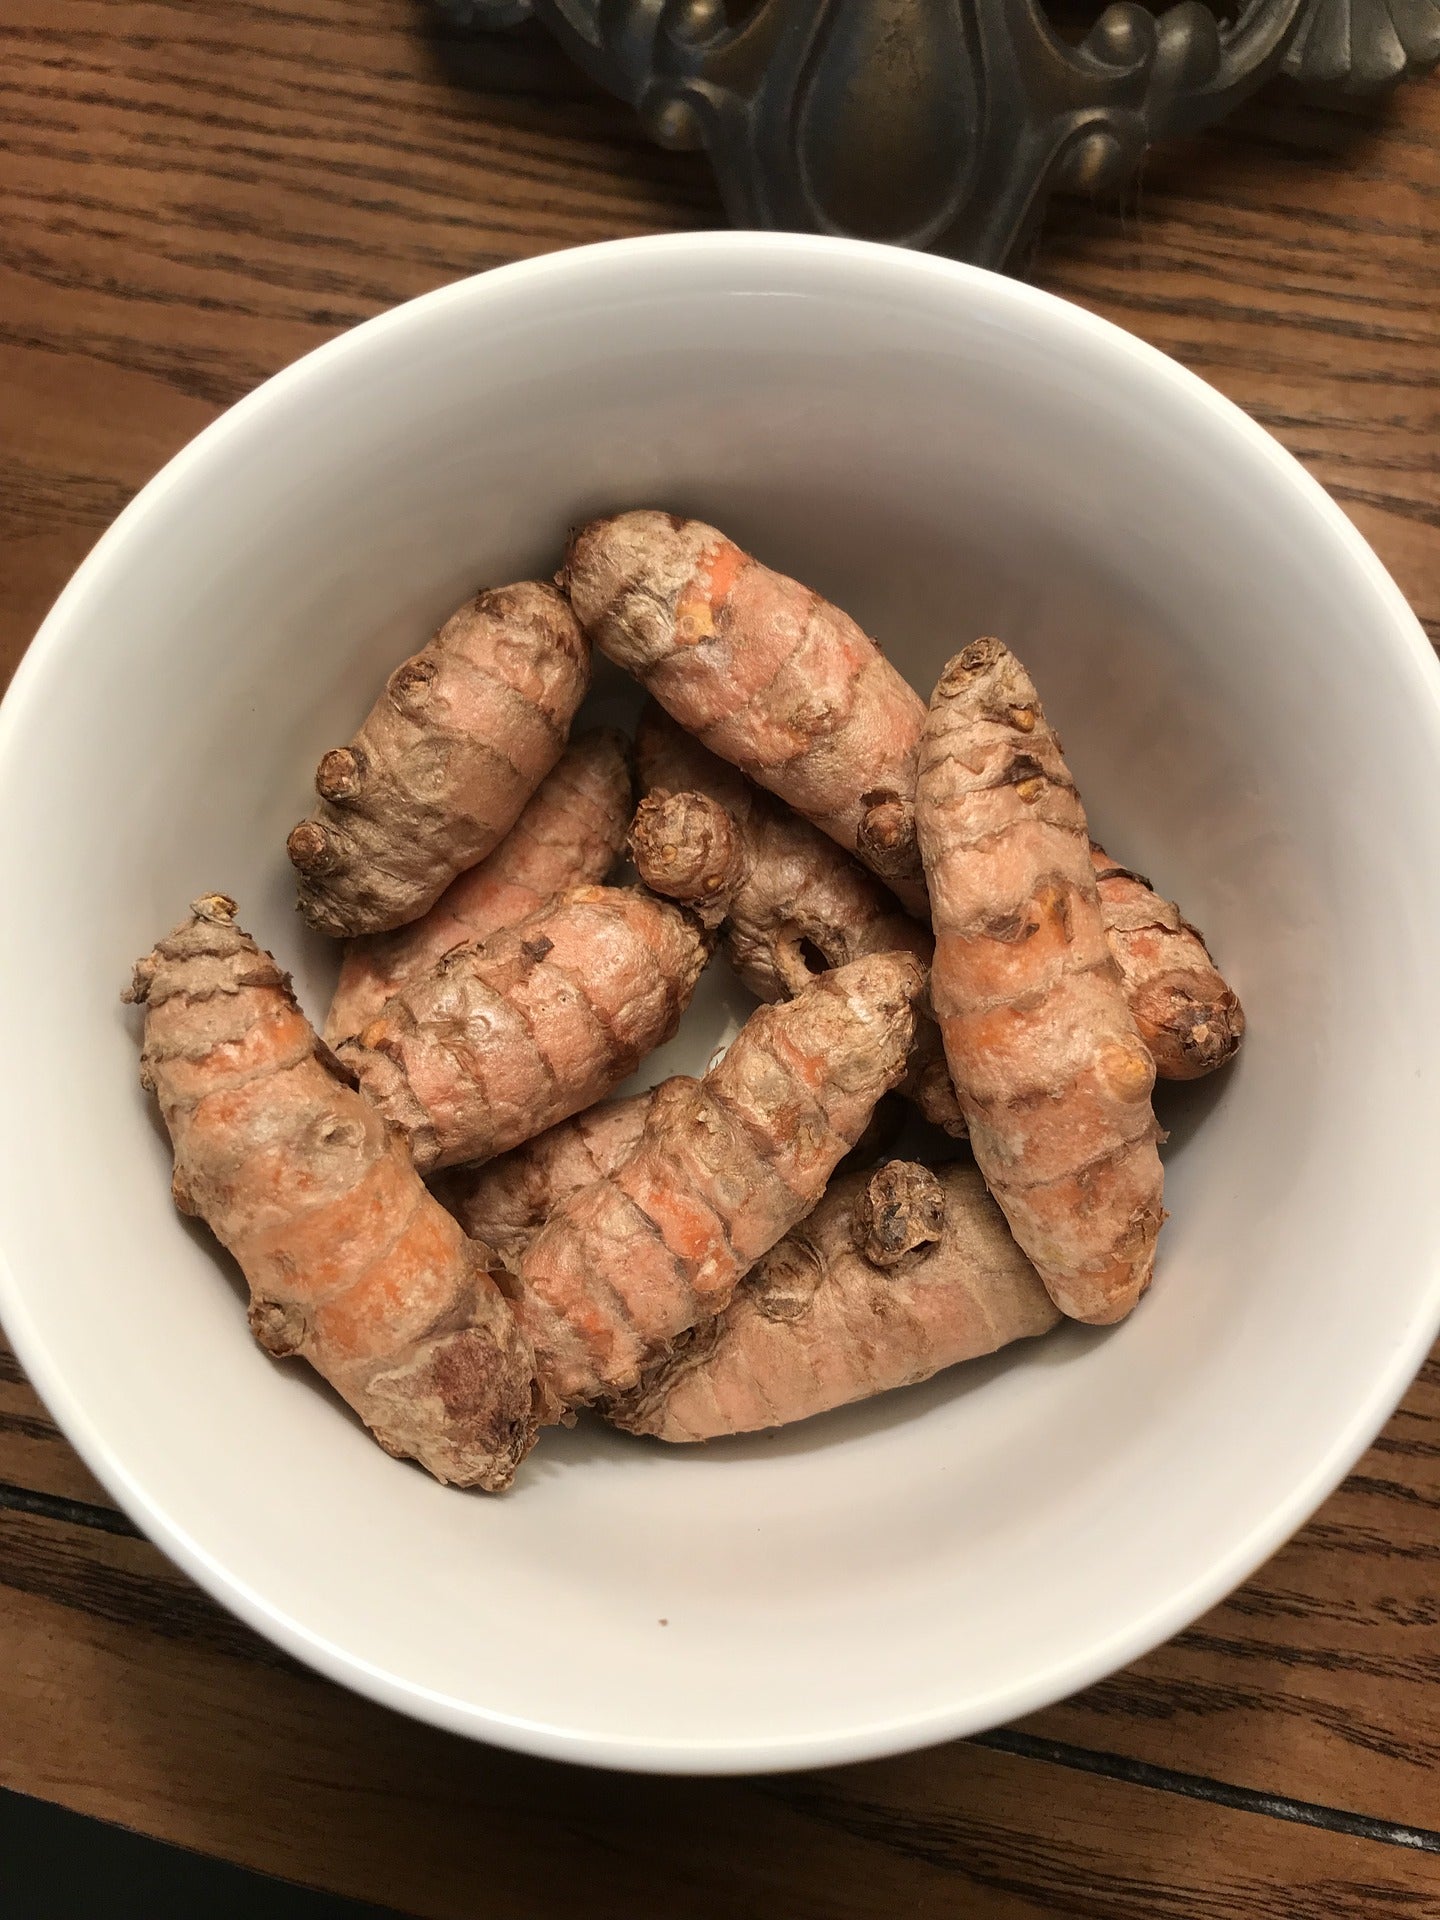
Turmeric is most well known for its roots. With scaly brown skin on the outside and bright orange or yellow (and for some varieties even bright blue) flesh on the inside, it’s no wonder that this plant has captured the imaginations of gardeners all over. The turmeric root can be dried and powdered or juiced and used in all kinds of cooking scenarios. The juice is a great and healthy addition to smoothies or cocktails and is said to have immense anti-inflammatory properties. The powder is a main ingredient in many Southeast Asian dishes and a must have in your spice cabinet. Turmeric also keeps well when frozen and grates easily. The leaves are edible and can be used in a similar function to banana leaves. They’ll make a great addition to any meal when wrapped around whatever you’re throwing on the grill!
Nearly all of the world’s turmeric crop is produced in India. This means that in order for us to get our hands on this delicious and powerful root in the store it must be stored and shipped. The carbon footprint of that process is simply enormous. In the name of garden experimentation, food autonomy, and sustainability, it would be a really fantastic idea to try turmeric in your garden this year!

How to Grow Turmeric
Turmeric can be grown entirely outdoors in USDA zones 8-11. Any cooler than that and it will have to be handled a little differently or grown as an annual.
Turmeric is a warm weather crop that will not survive even a light frost. When planted outside, it prefers weather hotter than 68 degrees fahrenheit (50 at the absolute lowest). While turmeric can be planted in beds outside, growing it in a pot can help you navigate these variables, especially in cooler climates. Because turmeric takes eight to ten months to mature, in cooler climates you’ll have to sprout earlier (eight to ten months before your first fall frost) or make a plan to bring the plants back in before the frost and care for them indoors. Once you’ve decided the best option for growing, it’s time to get started. When choosing a pot, you’ll want one that’s at least a gallon per plant so you can guarantee deep root development.
Turmeric will grow well in full sun to partial shade. It can be somewhat sensitive to scorching in extreme temperatures so if you’re in a hotter climate, partial shade (especially in the afternoon) may be beneficial.
Before you plant, be sure to soak your turmeric rhizomes for 24 hours. This helps to ensure hydration as turmeric needs the most amount of water while it’s sprouting. You can cut up your rhizome to create more plants so long as there are two nubs or nodes on every slice, though you can also plant them whole. If slicing, let the pieces sit out in a dry area for a few days so cuts heal over the flesh. This will help to prevent rotting. Bury the root under two inches of loose soil twelve to sixteen inches apart. Nubs should be facing upwards. Once planted, keep the area moist (though not sopping). Too much water will rot the rhizome.
You can also start turmeric plants inside before the last frost, as early as you’d like really! During the early weeks, light is not nearly as important to get the root growing as heat is. Using a heat mat during the coldest months, even when inside, can make all the difference. Again, this tropical plant will do best in soil that’s above 68 degrees and even better if it’s at seventy to eighty degrees. A heat mat can be necessary in colder climates. If you have an old radiator or some other source of heat, that can be utilized as well.
It can take some time from planting to aerial foliage production. Turmeric typically leafs out in July, so if you don’t see immediate growing action - don’t fret! This heavy feeder will benefit greatly from a regular douse in a high nitrogen fertilizer weekly or biweekly. Kelp Meal or Fish fertilizer will do the trick.

Harvesting, Storing, and Planning for Next Year
Turmeric typically takes eight to ten months to reach maturity, though you can harvest sooner. Older roots will be tougher and will possess more flavor. In cooler climates, you’ll see the leaves start to turn yellow and this is your sign to harvest. Gently loosen the soil around each plant with a trowel or your hands, being careful not to damage any roots, and then pull the roots out of the ground by the stems. Cut the leaves as close to the rhizome as possible. Brush off any excess soil. The rhizomes should be washed before use or processing. This is when you will also choose certain rhizomes for replanting. It’s recommended to replant the rhizomes soon to get a start on the next season. They can be kept on heat mats in moist soil to prepare them for sprouting come summer.

|
Article Written by: Hannah Gibbons |
|
About the Author: Hannah Gibbons, an employee at Sow True Seed since 2020, has nearly a decade of experience in the agricultural industry. Their passion for environmental education and regenerative agriculture has been the cornerstone of their work, aimed at making gardening accessible to all. |