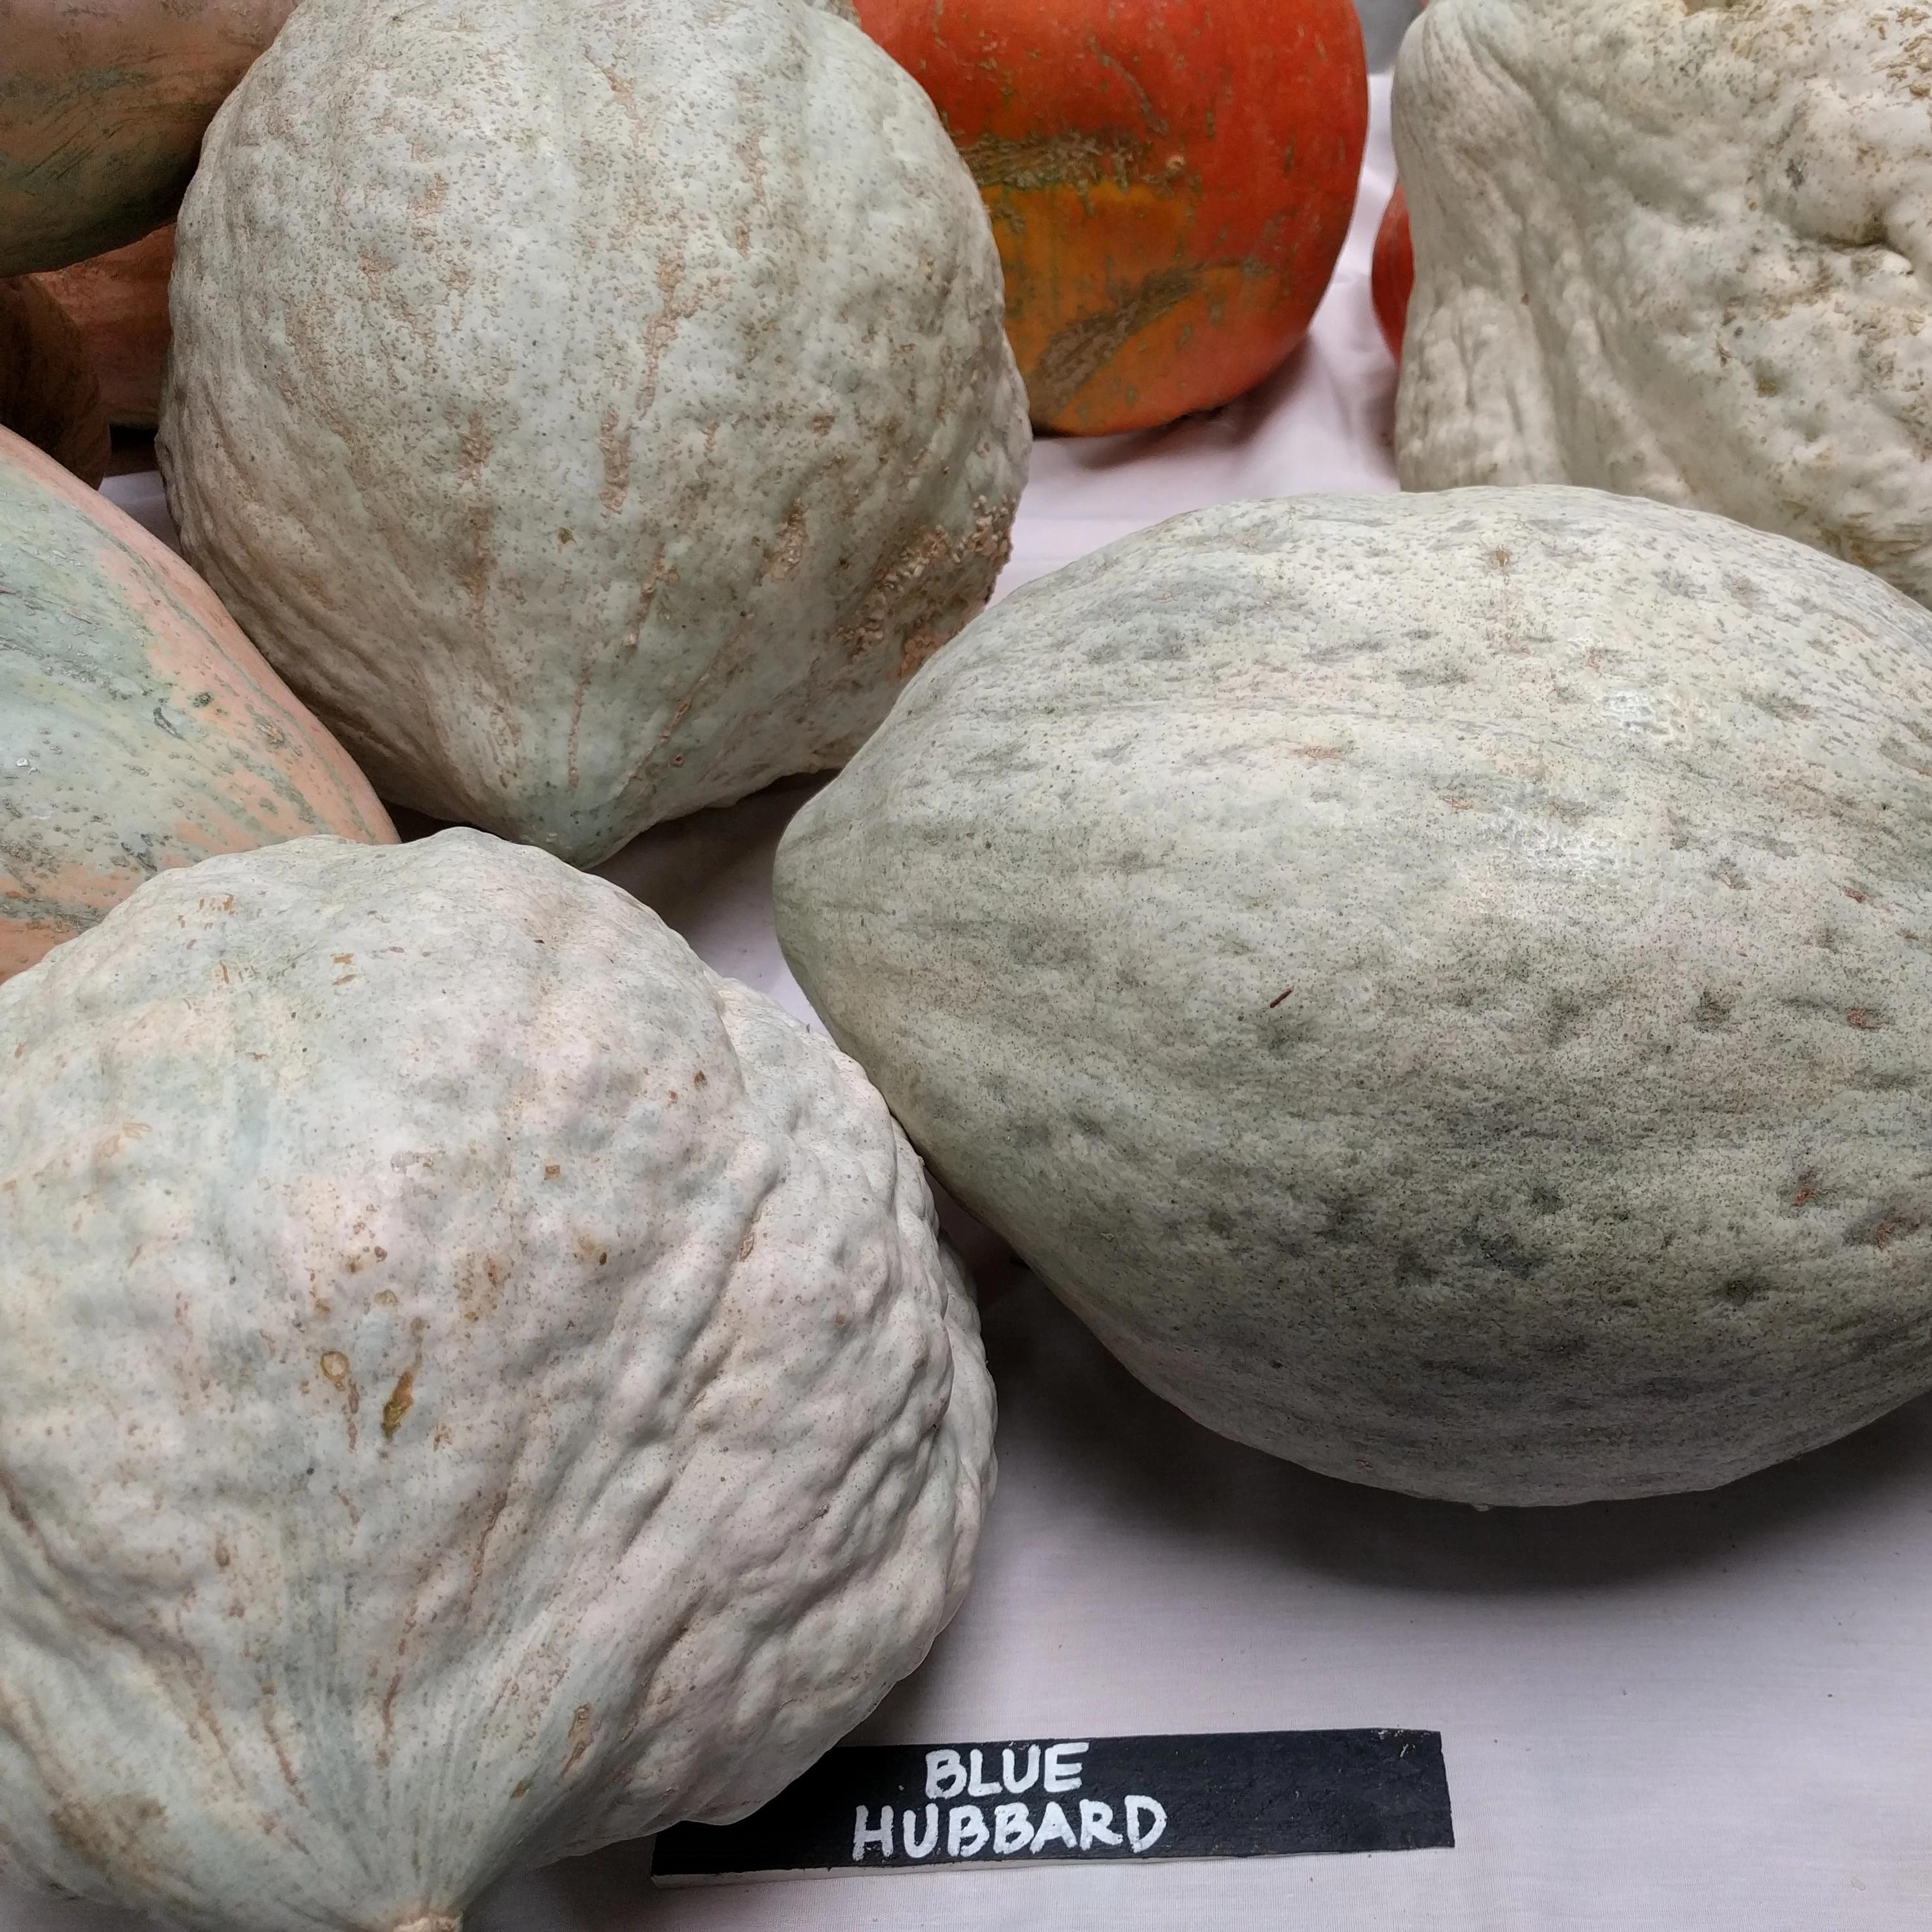
Why Grow Blue Hubbard Squash?
Blue Hubbard Squash is an excellent and beloved heirloom winter squash that has earned its place in your garden. We love to recommend this variety to growers that want to try something new. Not only is this squash delicious but it will keep longer than your other winter squash. It’s a good one to grow alongside some other beloved squash and keep in storage until you’ve eaten everything else. Besides that, its pie-filling abilities are reason alone to grow it. Its texture, on the dryer side, and flavor, not too sweet, makes a pie that is creamy, caramelized, and sweet to your tastes!
How to Grow Blue Hubbard Squash Seed
The Blue Hubbard Squash will need full sun and rich, well-draining soil. It is a long season crop, 110 days to harvest, so will need to be kept strong and healthy throughout the whole summer. Luckily, by following some basic tips and tricks, you’ll be harvesting plenty of Hubbard squash in no time. Blue Hubbard Squash seeds can be directly sown into the garden or started inside, four to six weeks before your last frost, and transplanted. Wherever you choose to start your seed outdoors, ensure that soil temperatures are consistently around 70 to 95 degrees Fahrenheit.
Sow seeds one inch deep at a direct seed spacing of six inches. If direct sowing in the garden at this spacing, plants will have to be thinned to their mature spacing of 24 to 36 inches. Keep seeds well watered until germination.
When to Plant Blue Hubbard
Blue Hubbard, like all squash varieties, are warm season crops that are frost sensitive. They must not be planted outdoors until all danger of frost has passed. Otherwise, you risk a late spring frost killing back your seedlings that you’ve worked so hard for! Check your average last frost date and wait to plant for two weeks after that date. At this point in most growing zones, you can consider yourself safe from frost at that point. When thinking about how late into the summer you can plant squash seeds, consider the days to harvest found on the seed packet and use that to count back from your average first frost date.
Where to Plant Blue Hubbard
When considering a location for your squash seedlings, select a location with full sun, ideally eight hours of sunlight per day. They will love rich, well-draining soil, and can be mounted up in rows six to eight inches tall if drainage tends to be an issue for you. Before planting, soil can be amended with plenty of compost and organic matter, especially if you deal with clay soils like we do here in zone seven.
We recommend rotating all of your crops, but especially cucurbits as there are just so many pests and diseases that can be a problem. Try to select a location that hasn’t had cucurbits in it in the last two to three years. Ensure that your squash seedlings will be able to grow at their mature planting distance of 24 to 36 inches. Overcrowded squash means less airflow, plants competing for nutrients, and faster spread of disease and pests. If you are short on space, consider trellising your squash!
How to Plant Blue Hubbard Squash Seeds
Sow Blue Hubbard squash seeds about one inch deep. Water thoroughly! Not watering enough is the number one reason folks struggle with germination. Sprouts should emerge in five to ten days.
You can sow one to two seeds per planting hole, but may not need to as squash tends to have reliable germination. If more than one seed germinates, thin back all but the strongest, once the seedlings have grown two sets of true leaves. Continue to water frequently in the first few weeks to help get the plants established. Mulching is also a good idea to conserve moisture and decrease weed pressure.
How Often to Water Blue Hubbard Squash Plants
As always, it is really important to water regularly and maintain soil dampness from the time you plant a seed until it is a more established plant at which point it is better equipped to handle environmental stress. Not watering enough is the number one reason people struggle with germination and survival of seedlings!
Squash, and vining crops in general, need a good bit of water in order to grow big and strong! Squash are heavy water feeders. They will need at least one inch of water per week but will be grateful for two. Water at the soil level deeply, utilizing mulch to conserve moisture as well. Watering at the soil level will ensure that as much water gets to the roots as possible as well as lessen the chance of fungal disease spread among your crops. Wet foliage can encourage fungal disease which can negatively impact your harvest.
When to Harvest Hubbard Squash
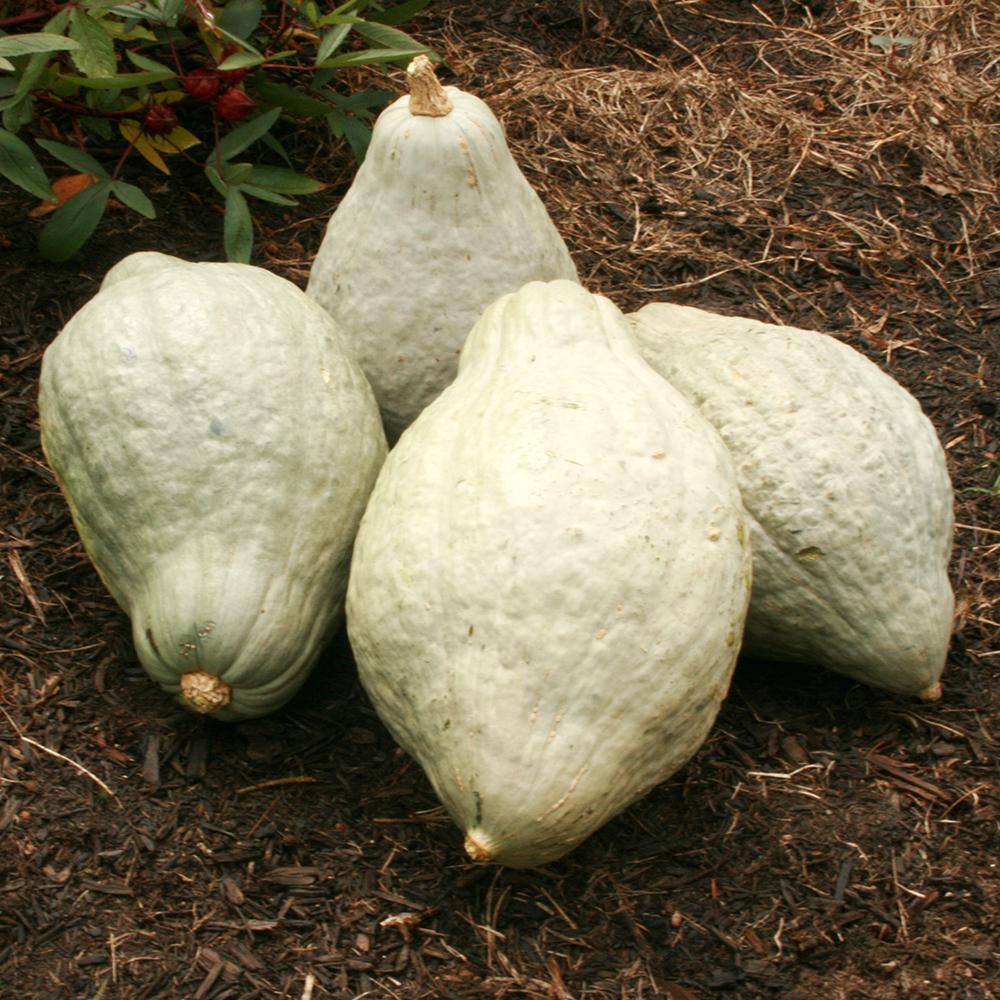
Harvesting winter squash is different from harvesting summer squash. Summer squash is harvested fresh, before it forms the hard rind that winter squash is known for. This rind aids in its storage ability. Blue Hubbard squash should be harvested once its fully mature which will be at or close to the end of the days to harvest information found on the seed packet. In winter squash, ripeness is apparent when the skin is fully colored and hard - if you can’t dent it with your fingernail. Hubbard squash should be harvested before the first frost as cold weather can damage the fruit and affect its storage capacity.
Using a sharp knife or pruners, cut the squash from the vine, leaving a one to two inch stem attached. After harvest, squash should be cured. This can sweeten the flavor and help with storage capacity. If you have enough time before your first frost, cure the fruits outside by leaving them laid out in the sun for seven to ten days. Squash can also be cured indoors but you’ll want to make sure that the temperature you’re curing them indoors is at 80 to 85 degrees Fahrenheit in a location with good air ventilation.